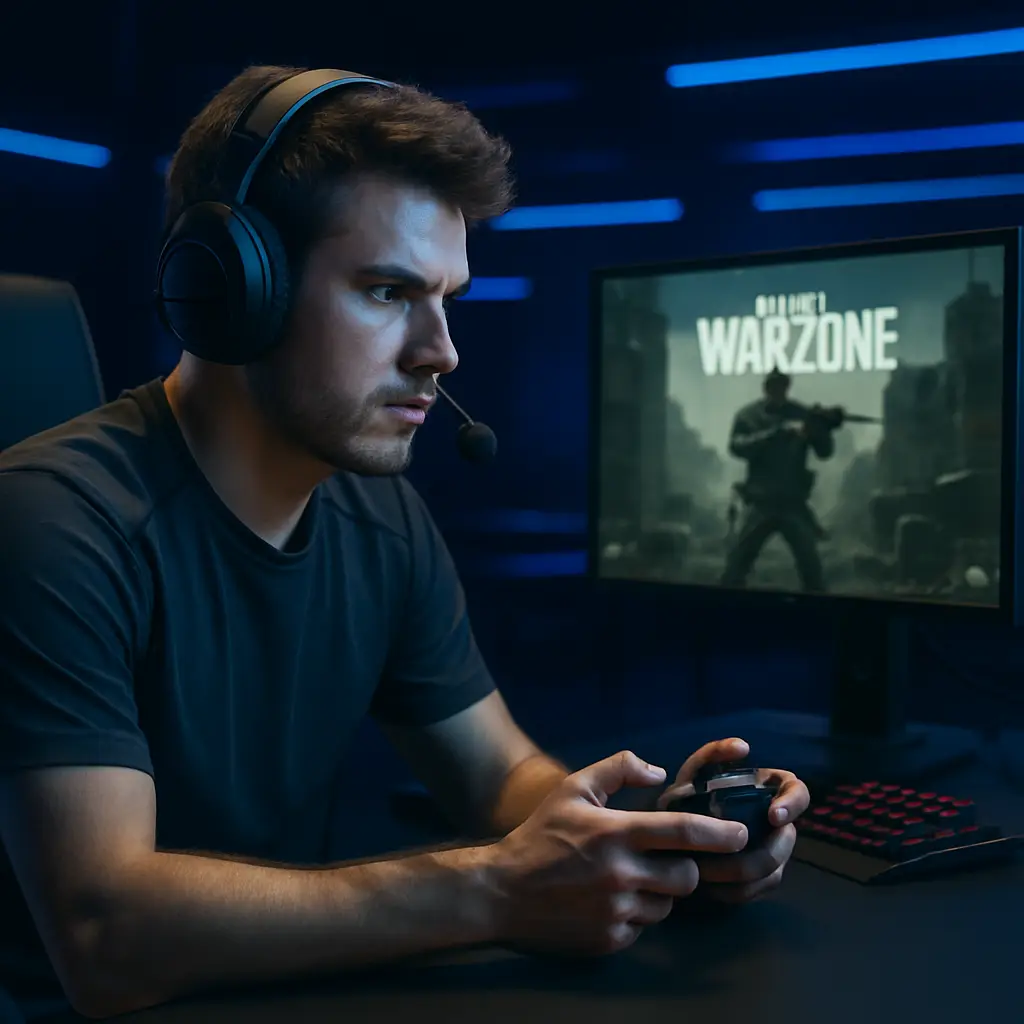
Getting your controller set up correctly can give you a real advantage, whether you’re grinding ranked matches or just trying to win against your friends. Through years of playing on both Xbox and PS5, I’ve noticed that minor setup tweaks can make movement, aiming, and reaction time feel smoother and more natural. In this guide, I’ll walk you through all you need to know for a controller setup that’s built for performance, comfort, and lengthy gaming sessions.
Choosing the Best Button Layout
Most games on Xbox and PS5 start you with a standard button layout. It works, but it doesn’t help if you want to pull off faster moves or keep your thumb on the stick while doing things like crouching or sliding. Switching to a tactical or customized layout gives me much more control during close battles or tense situations.
- Tactical Layout: Moves crouch or slide to the right stick button (R3/RS). I can duck, slide, or drop shot while aiming, which feels natural in fast shooters.
- Custom Button Mapping: Both Xbox and PS5 allow remapping in-game or through system controller settings. (if available)
If your controller supports paddles (Xbox Elite, Scuf, or DualSense Edge Pro), using those for jumping, sliding, and reloading lets you play more fluidly. “I assign jump and reload to the back paddles so my thumb stays on the right stick.” For standard controllers without paddles, the claw grip is an option, but it takes some time to get used to.
Don’t forget to experiment with other layouts specific to shooting or action games, and keep in mind that some controllers let you save multiple button profiles for easy swapping between play styles.
Dialing In Sensitivity Settings
Sensitivity makes a massive difference in how you aim and move. I never stick with the default. I like to experiment until the setup feels right for my hand speed, play style, and reflexes. Finding your own sweet spot can make aiming and movement more reliable. There isn’t a single “perfect” sensitivity that works for everyone — but there is a range where most players find success.
Start at 6/6. (horizontal/vertical). This is the sweet spot many pros and guides recommend. It’s quick enough for fast reactions but still controllable.
Stay between 4 and 9. Keep your sensitivity in the 4–9 range. Anything under 4 slows down your aim too much in close-quarters fights, while going past 9 makes it difficult to control fine-tuned movements.
ADS Multiplier: 0.85. This slows your aim slightly while scoped in, giving you better precision when lining up shots.
ADS (Aim Down Sight) Sens: Lowering this a little below your usual sensitivity helps steady crosshairs while aiming. I usually keep ADS sensitivity between 0.85 and 1.0, so my shots are more precise. If I overshoot or undershoot targets, I adjust the value accordingly.
👉Pro Tip: Don’t just copy a streamer’s settings. Start around 6, then adjust up or down until you can track enemies smoothly and land shots without over-aiming. Comfort and consistency always win over flashy numbers. Try making small changes per session rather than a big jump, and keep notes about what feels best and your performance in-game.
Pro Tip: Some players run high hip-fire sensitivity (10–12) for fast turning, paired with lower ADS (5–6) for accuracy when aiming. It gives you speed when moving and control when firing.
Grip Styles and Hand Comfort
I started with a basic grip, using my thumbs on the sticks and index fingers on triggers. This is simple and works for longer sessions, but has limits if you want to press more buttons fast, especially during high-pressure moments.
Trying out the claw grip—resting an index finger over the face buttons while keeping the thumb on the right stick—lets me jump or reload without losing aim. It feels odd at first, but it becomes more natural with a bit of daily practice. If the claw grip isn’t comfortable for you, paddle controllers are a fantastic alternative since they let you map key actions to extra buttons you can press with your middle or ring fingers. No finger stretches needed, just smoother gameplay.
Adjust the value accordingly; my right thumb never leaves the right stick when there’s any possibility of a fight. This single habit boosts my aim, especially in fast-paced games.
Optimizing Trigger and Stick Response – (if available)
Speed in shooting games relies heavily on trigger and stick response. Adjusting these settings can shrink the gap between your decisions and what’s happening onscreen.
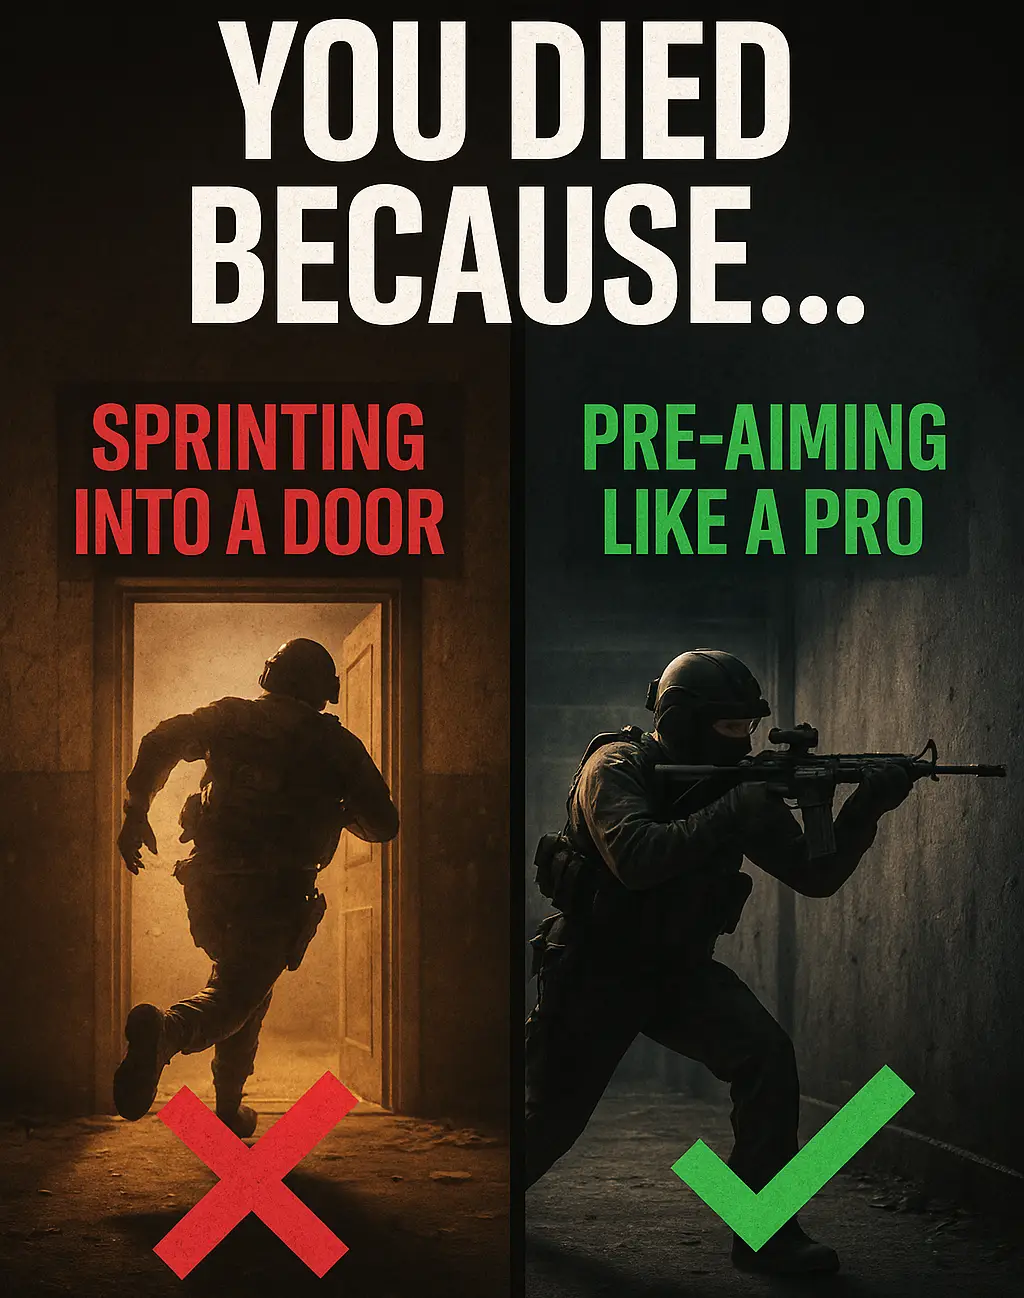
Trigger Stops: These reduce the distance you need to pull the triggers before your guns fire or you aim down sights. On specialized controllers, I set the stop just above the activation point. If using a standard controller, try to keep trigger pulls light and fast.
Deadzones: A deadzone is the area where stick movement doesn’t register in the game. Reducing deadzones as much as possible, stopping before stick drift appears, gives quicker responses. Low deadzones mean less delay between your input and the game reacting, especially for sudden aiming movements.
👉Pro Tip: I usually hop into a training range or empty lobby and practice aiming and firing quickly to see if there’s any delay. If I spot lag or slow responses, I adjust deadzones or trigger settings until every action feels tight and immediate.
Cutting Down on Distractions
Distractions can pull you out of the zone, especially controller vibration or random audio noise. Turning off vibration keeps your aim steady during gunfights or big explosions. On PS5, some games play sound through the controller, but using a headset is much more effective for listening to footsteps or voices.
To play at your best, make sure only essential cues are coming through your hands and ears. Less clutter means better focus and more wins.
Advanced Controller Settings & Accessories
Some Controllers come with numerous tweaks and accessories that you can add for even better performance. Here’s how I get extra value from my setups:
Paddle Controllers: Upgrading to an Elite, PDP Victrix Pro, Scuf, or DualSense Edge Pro allows me to map commands to the rear buttons. This change really gives my gameplay a boost once I’ve gotten used to the new layout.
Thumbstick Variations: Swapping to taller or textured thumbsticks can make aiming smoother and boost grip. I like mixing a tall right stick for aiming with a standard left stick for movement, giving a perfect hybrid of control and comfort.
Grips and Trigger Extenders: Adding slip-resistant grips or trigger stops to a regular controller increases comfort and response time, even if you’re not ready to splurge on a top-tier controller.
These add-ons mean you can play longer, with fewer hand cramps or sweaty palms, and you can keep your focus sharp when it counts.
Fine-Tuning With Practice Drills
It takes practice to build muscle memory with new layouts or sensitivity settings. I recommend using these drills to speed up the break-in process:
- Target Tracking: Move around stationary targets or bots, making an effort to keep your crosshairs centered. Try adjusting your speed with each pass.
- Slide and Shoot: Practice combining movement and shooting by sliding out of cover while aiming and firing. This helps you get used to any new button mappings quickly.
- Snap Aim: Pick various spots on the map and snap your aim between them as quickly and accurately as possible. Over time, you’ll notice greater accuracy and quicker reactions.
After every session, tweak your settings if things feel off. Don’t hesitate to experiment—what works for one game or grip may not be ideal in another. In just a few sessions, even significant changes will start to feel natural.
Key Setup Tips At a Glance
- Try the tactical button layout to free your aiming hand and make movement actions smoother.
- Set sensitivity to a level where you can reliably land shots, even if it feels slower at first. Consistency beats speed for accuracy.
- Try using a claw grip or a paddle controller to perform extra actions while keeping your aim locked in.
- Shorten trigger travel and lower stick deadzones to minimize input delay.
- Turn off controller rumbles and sounds to stay focused during play.
Every controller tweak adds up. I always notice crisper aim, better movement, and more confidence in games after spending time getting my setup just right. You end up fighting the competition instead of fighting your setup—and that shift makes gaming much more enjoyable.
Ready to Play Smarter?
If you want help tuning your own settings, there are guides specific to each controller style. Even something as simple as a video guide or advice from friends can help you become more comfortable much faster. For more performance tips, check out Xbox Controller Options or the PS5 DualSense Edge features.
Mistakes and adjustments are typical, and there’s always another trick or tweak that could help you push your skills further. If you have questions about a specific controller setup or want tips for a particular game, ask away or swap stories with other players. There’s always something new to learn, and trying new ideas can help you make a significant leap next time you hop into the game.
Train Like Teddy: Smarter, Sharper, Stronger-Mastering Your Controller
Getting your controller settings right isn’t something that happens all at once. It’s a process of learning, testing, and adjusting. One day, a setup feels perfect, and the next, you might realize a small change could make everything smoother. That’s normal. Mistakes, tweaks, and even frustration are all part of growth.
Think of it like training. Every adjustment you make teaches you something new about how you play. Perhaps you’ll find that a lower sensitivity improves precision. Maybe a higher ADS setting would be more suitable for quick fights. The perfect controller setup doesn’t happen overnight. But every adjustment moves you closer to that natural, locked-in feel. Once you find it, the game shifts in your favor. Want to speed that up?
👉Note: There’s no finish line here: Even the best players are always learning, constantly testing, and continually refining. What matters is the willingness to keep improving.
And here’s where I step in. I’ve spent over twenty years figuring out how to get the most out of a controller, not just for myself but for other players too. My role is to shorten your learning curve — to help you see what’s working and fix what’s not, and push your skills further than you thought possible.
Everybody talks about wanting to win more… but few actually put in the work. If you’re ready, I’ll show you how. That’s where my coaching program will take your game to the next level. At EliteTeddyDOTcom, you’ll find the guidance, drills, and coaching that can turn your controller into more than plastic and buttons. It becomes your tool for winning — and with the proper setup, you’ll feel the difference every time you drop into a match.